Upgrades and 'improvements'
Upgrade ignition system components
Disclaimer The TVR Car Club will not accept responsibility for any damage caused to any vehicle as a result of using this information.
I'm planning a couple of trips to Europe this year and so in the interests of avoiding possible problems I decided to upgrade the ignition system components. I think the ones on the car were original and so could do with an upgrade. Also, as everything was working the old parts would make ideal spares.
The New Parts
I decided to replace (ACT Part Number):
Replacement Process
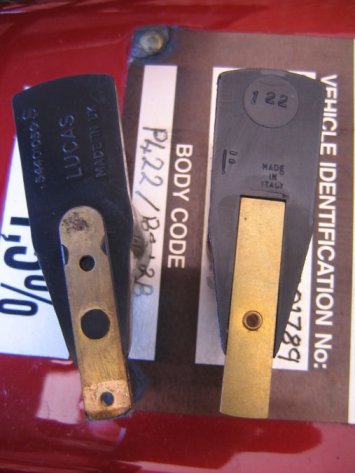
I started with the rotor arm, it's just a matter of removing the distributor cap and then it's a pull-push replacement.
Next I replaced the distributor cap, I marked the location of the number 1 feed and then switched them over. Then using the diagrams in the bible I worked through each cylinder as follows:
Replacing the coil was fairly straight forward but quite fiddly. Just undo the two securing bolts taking care not to drop the nuts / washers (which I managed to do several times). The connecting wires only go one way, there are two male and two female spade connectors.
After all that I was sure that I'd have missed something or not connected something. However a quick test-drive revealed that all was well. I think that the engine felt slightly smoother but that's probably just the "I spent money on it so it must be better" effect!
The New Parts
I decided to replace (ACT Part Number):
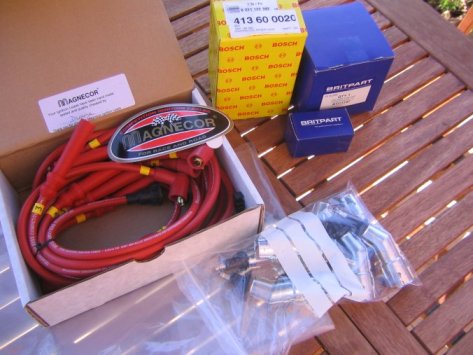
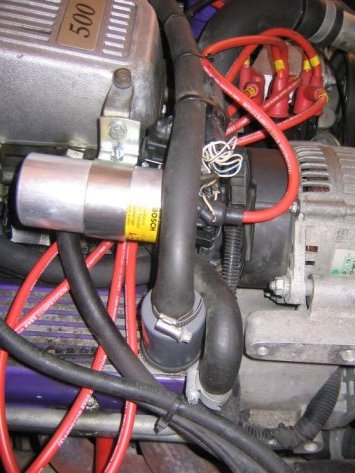
- HT Leads, Magnecor Reds (ACTIG004)
- Coil, Bosch (ACTIGA04)
- Distributor Cap (ACTIGA01)
- Rotor Arm (ACTIGA02)
- Plug Extenders (ACTIG005)
Replacement Process
I started with the rotor arm, it's just a matter of removing the distributor cap and then it's a pull-push replacement.
Next I replaced the distributor cap, I marked the location of the number 1 feed and then switched them over. Then using the diagrams in the bible I worked through each cylinder as follows:
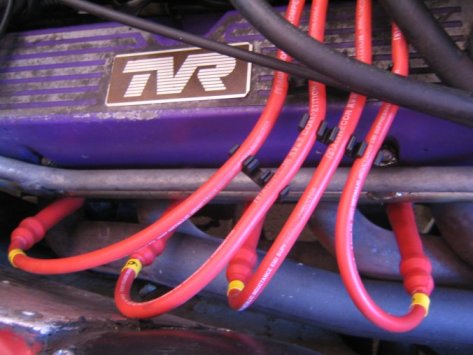
- Removed the old lead and plug extenders
- Connected the new plug extenders to the leads
- Attached the extenders to the plugs
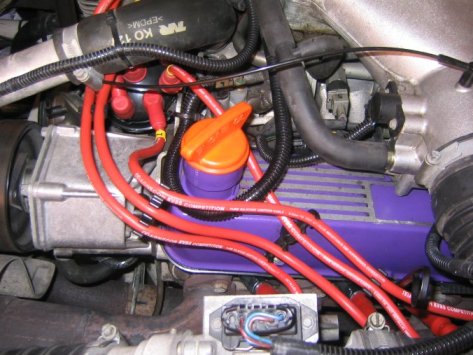
- Routed the leads to the distributor
Replacing the coil was fairly straight forward but quite fiddly. Just undo the two securing bolts taking care not to drop the nuts / washers (which I managed to do several times). The connecting wires only go one way, there are two male and two female spade connectors.
After all that I was sure that I'd have missed something or not connected something. However a quick test-drive revealed that all was well. I think that the engine felt slightly smoother but that's probably just the "I spent money on it so it must be better" effect!